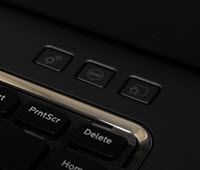
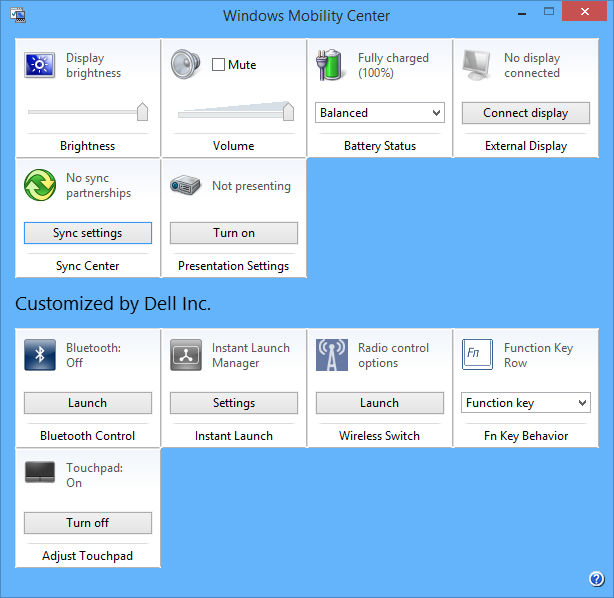
 Since Windows Vista, Microsoft has included the Windows Mobility Center that allows you to easily manage your hardware devices like WiFi, Bluetooth, etc.., from a single dashboard. Though this feature is disabled in desktop computers, it is mainly seen in laptops and tablets and is a huge time-saver as you don’t have to open different windows to access different hardware settings. In this tutorial, we will show you a quick overview of Windows Mobility Center and how you can activate it on a desktop computer.
Access Windows Mobility Center
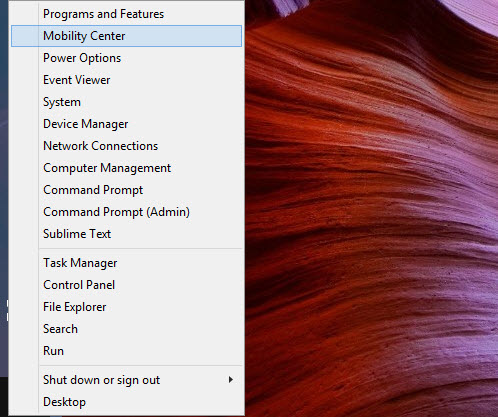
Like any other Windows settings, you can either access Windows Mobility Center from your “Control Panel” or you can open the power user menu by pressing “Win + X” and selecting “Mobility Center” from the list of options.
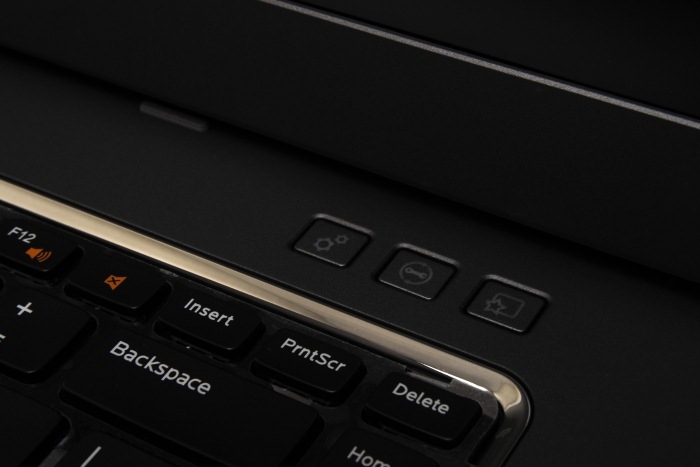
Additionally, most laptop manufacturers like Dell, HP, etc.., provide a hardware button which can be used to quickly access Windows Mobility Center with just one key press.
Features of Windows Mobility Center
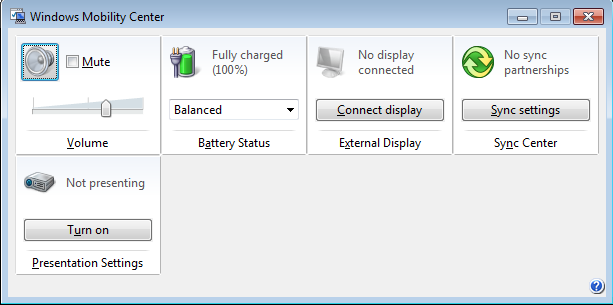
Aside from manufacturer-customized options, Mobility center has six major functions, depending on the hardware installed on your PC. Let us get a quick overview of these default features.
Brightness: The Brightness tile in the Mobility center is an easy way to adjust your screen brightness without stumbling through the Windows control panel. Just slide the slider to adjust the screen brightness according to your needs and you are good to go.
Volume: The Volume control slider provides a quick way to control volume output.
Battery Status: The Battery status tile shows you the remaining battery power, and you can also quickly switch between different power plans such as Balanced, Power Saver and High Performance using the simple drop-down menu.
External Display: Using the External Display setting, you can control the second monitor’s resolution and status. You can even toggle between screens.
Sync Center: If you own other Microsoft devices like a Windows phone, then Sync Center is very helpful to sync data between devices.
Presentation Settings: This tile is extremely useful when you are up to presentations. If you enable this option, your PC will be ready for presentations by automatically disabling screensavers, removing wallpapers, changing standby/sleep settings, etc. Actually, most of these settings are pre-configured by the manufacturers.
Enable Windows Mobility Center in Desktops
To enable Windows Mobility Center in desktop PCs, you need to edit your Windows registry settings. To do that, press “Win + R”, type regedit and press the Enter button to open Windows registry editor.
Here navigate to the following key:
HKEY_CURRENT_USERSoftwareMicrosoftMobilePCMobilityCenter |
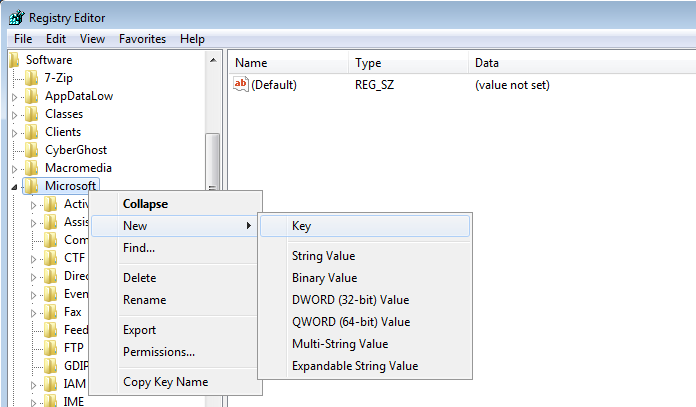
If you don’t find the keys “MobilePC” and “MobilityCenter,” then create those two extra keys by right-clicking and selecting the option “key”.
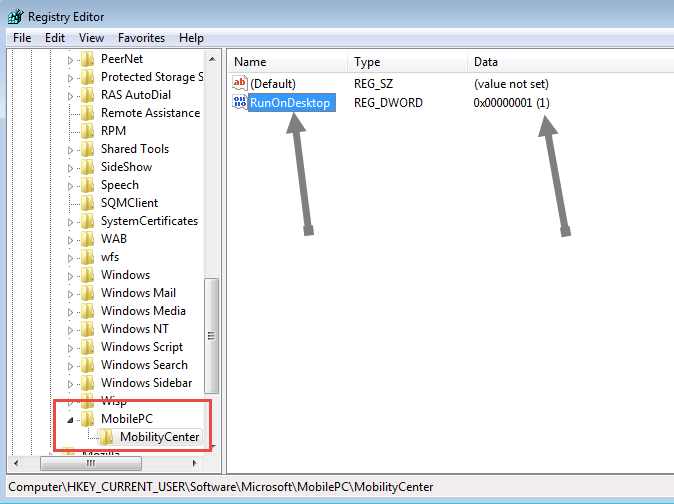
Select the key “Mobility Center” and on the right panel, create a new DWORD value and name it “RunOnDesktop.” Now double click on that DWORD value and change the value to “1.” Once you are done with the changes, this is what it should look like.
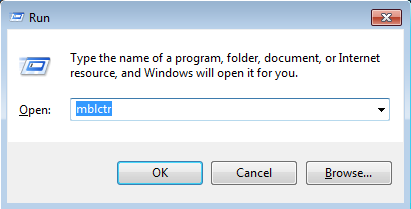
You can now access Windows Mobility Center by typing mblctr into the run command (Win + R).
That’s all there is to do and it is that simple to add Windows Mobility Center to desktop PCs.
Conclusion
Windows Mobility Center is one of the most underrated features of Windows, but it does provide an extremely easy way to customize different hardware settings from a single dashboard. The best thing about Windows Mobility Center is that you can even add your own tiles as per your needs. Do try it if you haven’t done so yet, and you won’t be disappointed.
Hopefully that helps. Do comment below with your thoughts on Windows Mobility Center.
The post Manage All Your Hardware Controls from a Single Dashboard in Windows appeared first on Make Tech Easier.
![]()




No Comments