There are times when you’re working on multiple tasks in parallel. For example, I have been recently working on reviewing lightweight web browsers for Linux and researching on Smart Credit Cards besides doing my regular work. Although I use different workspaces for different tasks, the problem that I usually face is that the app icons pinned to the Unity Launcher bar (I use Ubuntu 14.04) remain the same across all workspaces.
I was looking for a way to customize the launcher so that it only contains those apps that are required for the workspace which is currently active. In this article I will share with you how I solved this very problem using a software called Unity LauncherSwitcher.
Unity LauncherSwitcher
The official documentation of the tool describes it as a background script which enables you to set up a different launcher on each of your workspaces in Unity. It makes the Unity Launcher remember the contents corresponding to a specific workspace and changes the Launcher automatically when the user switches to another workspace.
Download and Install
Use the following commands to download and install Unity LauncherSwitcher:
sudo add-apt-repository ppa:vlijm/lswitcher
sudo apt-get update
sudo apt-get install lswitcher
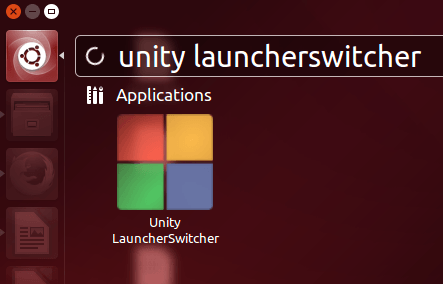
Once done, just head to Dash and search for Unity LauncherSwitcher, and you should find it there:
How to Use Unity LauncherSwitcher
Using the tool is very easy – just open it by clicking the icon that appears in your Dash search, and you should see the following window:
As you can see in the image above, there are only a couple of options that the software offers. One is, of course, to enable and disable it (ON/OFF) while the other allows you to automatically enable it on system login. By default, the tool is turned off, so you need to turn it on using the slider:
If you’re not used to working with multiple workspaces but would like to now, the next step would be to enable multiple workspaces, something which you can easily do by heading to “System Settings -> Appearance -> Behavior” on your Ubuntu box, and selecting the “Enable workspaces” option.
Now the tool is ready to use – you can try it out by removing or adding an app icon from the launcher in a workspace and confirming that the change is limited to that workspace only. For example, I removed the gThumb editor icon from one of my workspaces,
and as expected, the icon was present in all the other workspaces (one of them is shown in image below).
An important point worth mentioning here is that if the tool is switched off while being used, launchers in all workspaces are set with app icons that are there on the currently used one. However, when you restart the tool, the previous settings are again applied.
Note: you can also enable/disable the tool from the command line using the following command:
/opt/lswitcher/lswitcher/lswitcher_ui -toggle
Conclusion
Unity LauncherSwitcher is not only extremely useful, it also has a very low learning curve – it’s probably one of the simplest Linux tools that I’ve come across recently. If you want to use your Ubuntu workspaces more effectively, you should definitely give this software a try.
The post How to Customize Ubuntu’s Unity Launcher for Different Workspaces Using Unity LauncherSwitcher appeared first on Make Tech Easier.
